
GraphQL API
Latest Poppulo platform GraphQL API
Authorization
Setting up an API Client (Machine-to-Machine)
This guide explains how to create a Machine-to-Machine (M2M) API client in Poppulo and assign the appropriate permissions for your integration.
API clients are used by backend systems and integrations (for example, SCIM user provisioning or report exports) to authenticate with Poppulo using the OAuth 2.0 client credentials flow.
Overview
An API client:
- Represents a non-human integration
- Uses a Client ID and Client Secret to obtain access tokens
- Is granted one or more permissions, depending on what the integration needs to do
You should create one API client per integration, scoped with the minimum permissions required.
What's Supported
Whilst OAuth defines a number of different Authorization flows Poppulo currently only supports the client credentials flow. This allows for Machine to Machine interactions with our services.
Client Credentials Flow
The Client Credentials flow is the simplest of the OAuth flows and is used to identify the calling service. This flow is best suited for Machine to Machine applications such as backend services.
OAuth is a mature standard with many tools that support the Client Credentials flow, OAuth maintains a list of packages for covering more than just Client Credentials:
The following sequence diagram illustrated the process for requesting an Access Token from an Authorization server and using the resulting Access Token:
Prerequisites
To create an API client, you must:
- Have the Enterprise Integrations Manager role
- Be logged in to the Poppulo admin interface
Create an API Client
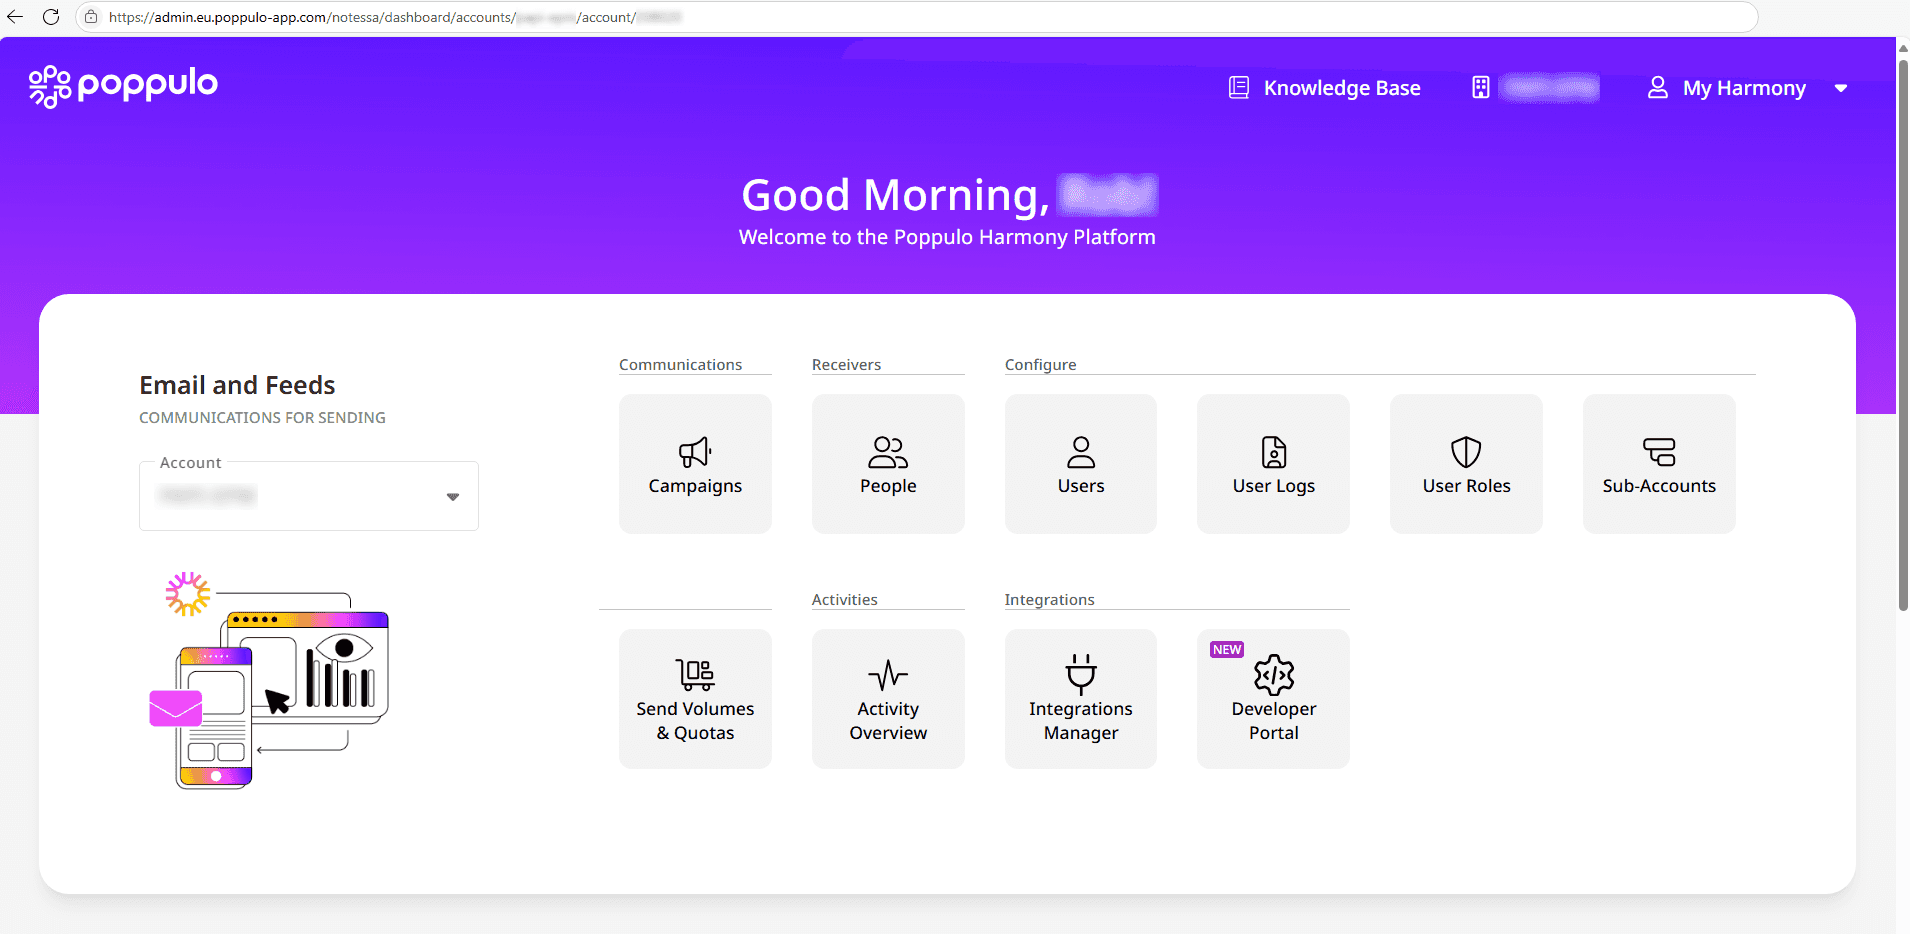
- Log in to Poppulo as an Enterprise Integrations Manager.
- From the dashboard, select Integrations Manager.
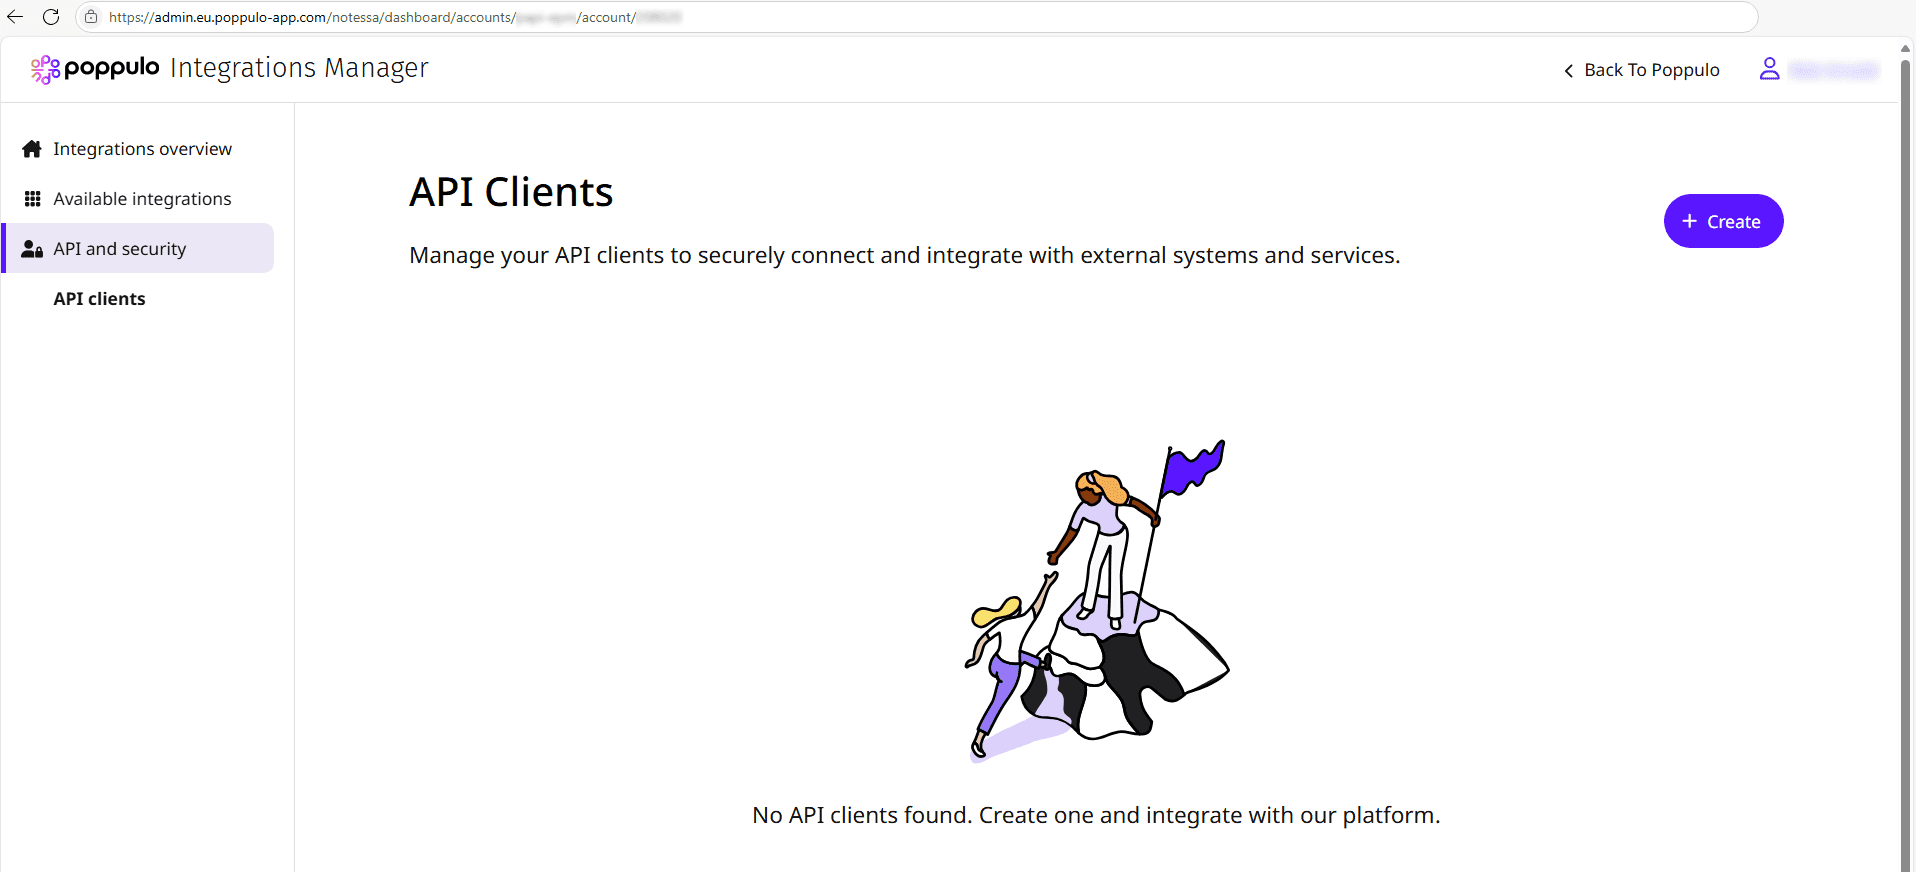
- Navigate to API and Security → API Clients.
- Click Create API Client.
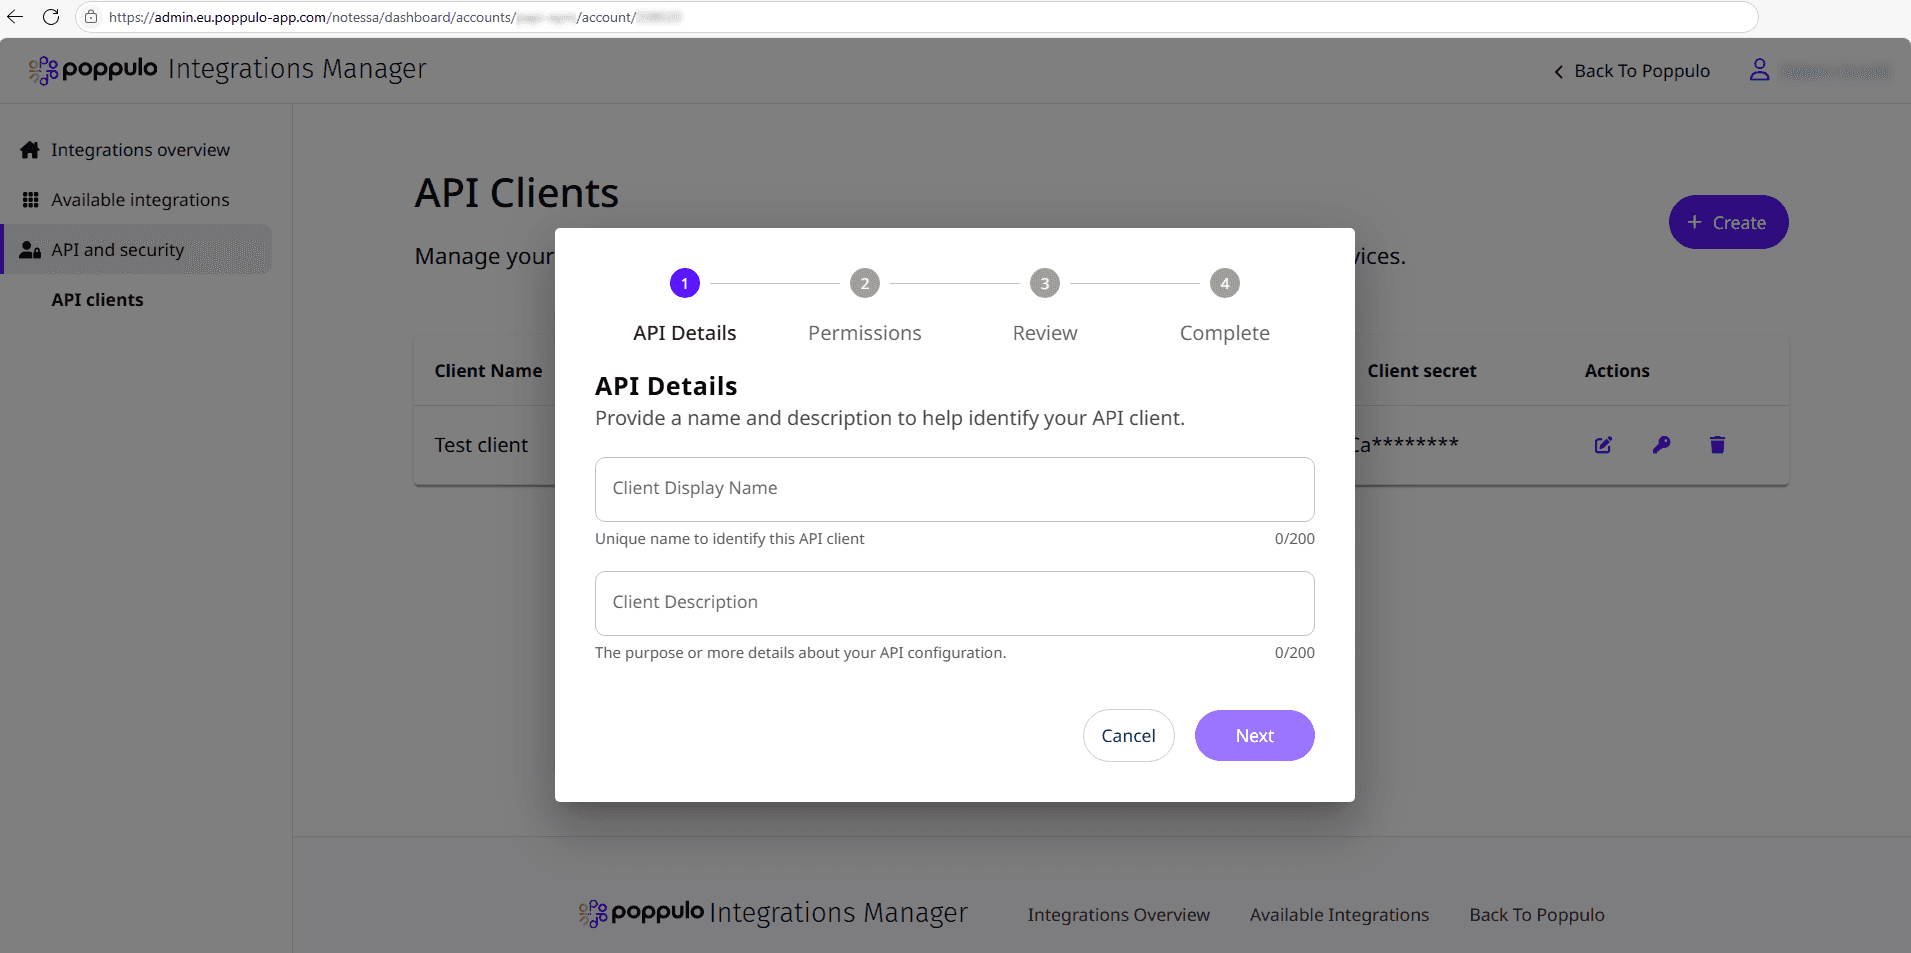
Client details
Enter the following information:
-
Name
- A unique, descriptive name for the integration.
-
Description
- A short explanation of how the API client will be used.
Example
- Name: User Provisioning
- Description: Automates provisioning of users from Entra ID to Poppulo via SCIM.
These details are for administrative clarity only and do not affect behaviour.
Assign Permissions
Permissions define what the API client is allowed to do. Each integration must be granted only the permissions it requires.
You can assign multiple permissions to a single API client if needed.
Common permissions
| Permissions | Description | Typical Use Case |
|---|---|---|
enterprise:user | Manage users within the enterprise | SCIM user provisioning |
reports:export | Generate and download reports | Automated report exports |
ℹ️ Additional permissions will be added over time. Always review available permissions when creating a new API client.
Examples
-
SCIM user provisioning
- Assign: enterprise:user
-
Report exports only
- Assign: reports:export

Review and Create
Review the client configuration, then create the API client.
Once created, the Client ID and Client Secret will be displayed.
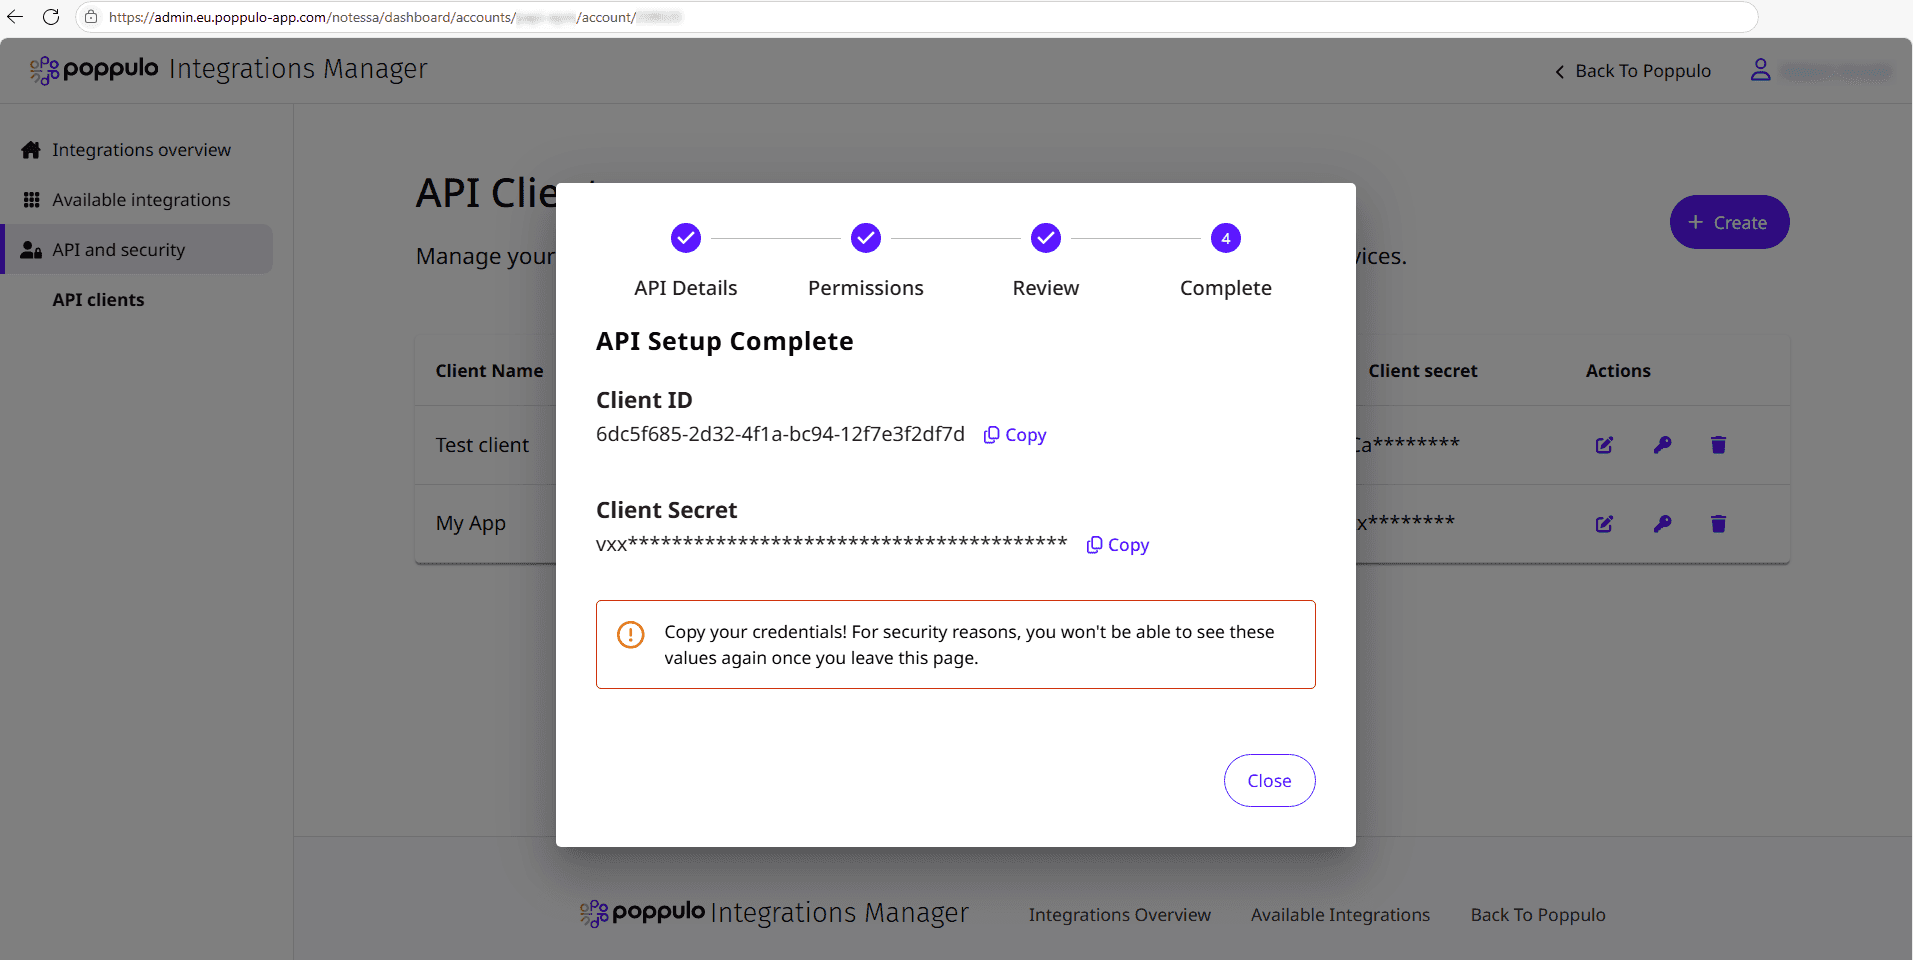
Client Credentials
- The Client Secret is shown only once and is not stored by Poppulo.
- Store it securely immediately.
- If the secret is lost or compromised, you must generate a new API client.
⚠️ Treat the Client Secret like a password. Do not commit it to source control or expose it in client-side code.
Using the API Client
Use the Client ID and Client Secret to request an access token using the OAuth 2.0 client credentials flow.
Once you have an access token, include it in the Authorization header of API requests:
Authorization: Bearer <access_token>Best Practices
- Create separate API clients per integration
- Grant the minimum required permissions
- Rotate credentials if a secret is exposed
- Use different clients for production and non-production environments